Configure Archive Manager to export its settings regularly, in case you need to recover the Archive Manager system or move it to a new server. Once configured, the Export Settings task exports the following information to a zip file:
- All Protection Plan configuration files
- Store Task configuration files including Verify, Expire, Purge, Copy, Vault and Scheduled Restore
- Additional Archive Manager configuration files
- DATASTOR registry entries
- All Log files
- Cache folder
- Checkup reports
- Vlm Vaulting folder
- Local DATASTOR Scheduled Tasks
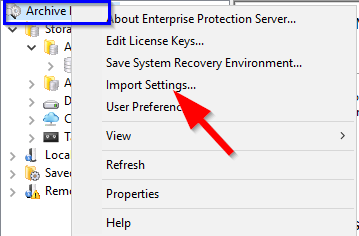
An export.zip file can be copied to a fresh server installation and specified during an import operation to import settings contained within the zip file. The option to import settings is located in the Archive Manager context.
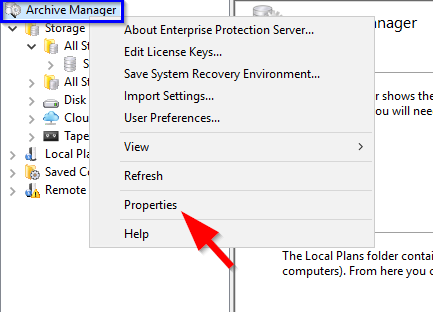
To configure the Export Settings task, open Archive Manager, left-click on the Archive Manager icon in the left pane, then click Properties in the right pane or contextual menu.
Go to the Export Settings tab of the Properties page.
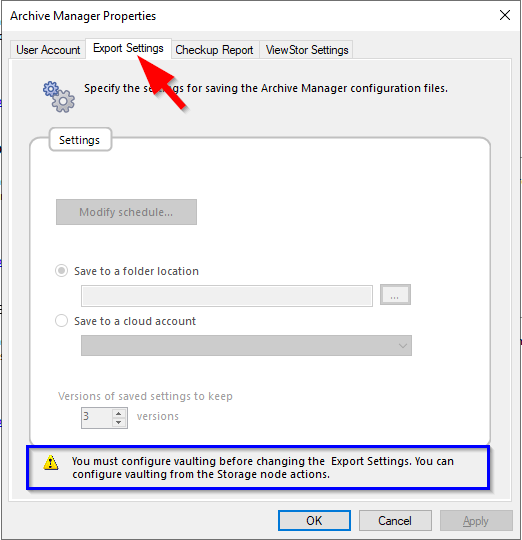
Note the message at the bottom of the page: You must configure vaulting before changing the Export Settings. If you are not using the vault to tape or vault to cloud features, just add dummy values when configuring the vaulting settings. There are only three values to enter and the Configure Vaulting wizard only takes a minute to complete. If you decide to use vaulting later, you can re-run the Configure Vaulting wizard to adjust the settings.
Click Cancel to close the Properties page.
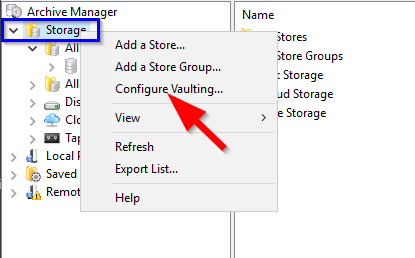
Click the Storage folder in the left pane and Configure Vaulting... in the right pane or contextual menu. In this document, we will enter dummy values.
In the Configure Vaulting Properties wizard, click the blue Select Cache Drive... link.
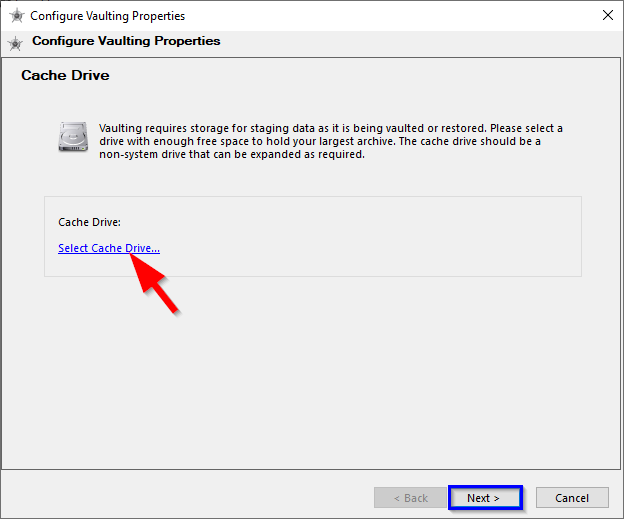
Select a local drive, e.g. C: or D:, then click Next.
On the Encryption page, leave the field blank if you are not using cloud vaulting or do not wish to use encryption with tape vaulting.
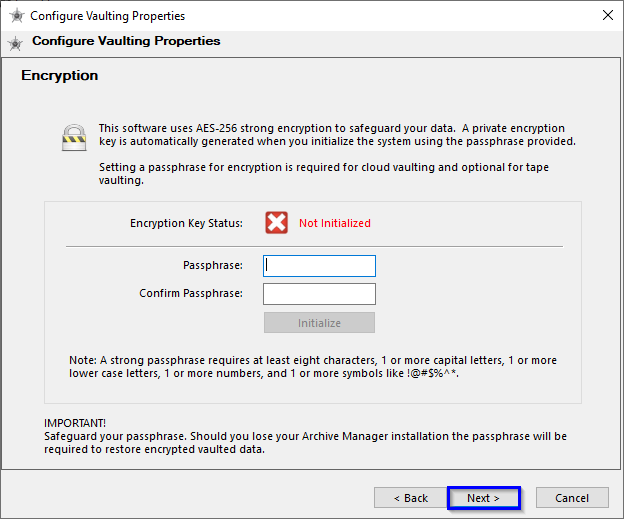
Click Next.
On the OwnerID page, enter a version of your company name or just 'YourCompany' as desired in both fields and click the Initilize button.
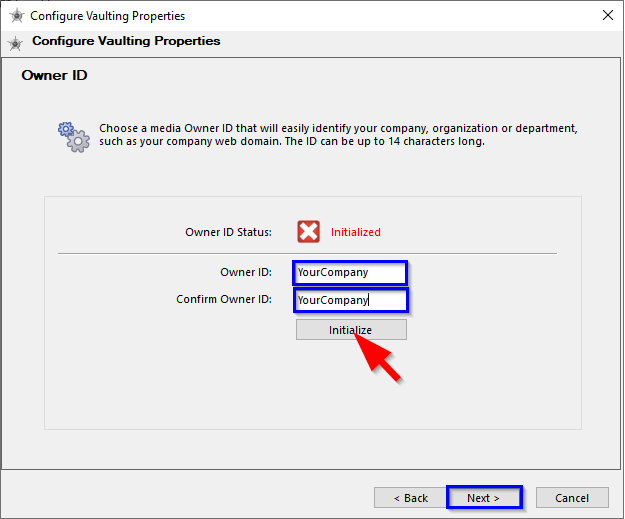
Click Next. Click Finish.
Now return to the Export Settings tab of the Archive Manager Properties page.
Click the Modify Schedule button. You must set a schedule before the other fields become active.
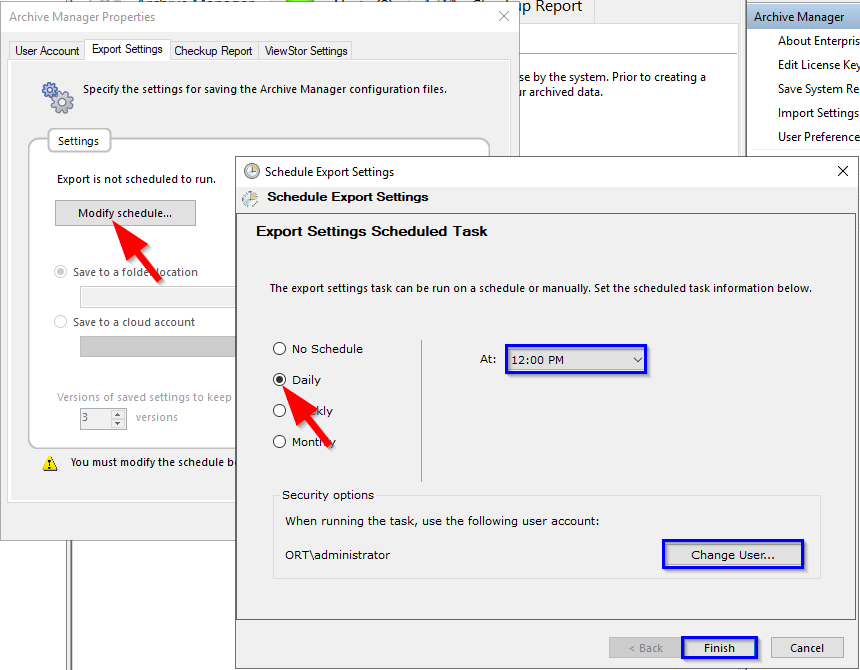
In this example, we have selected the Daily schedule at 12:00PM with a domain administrator account. We clicked the Change User... button and selected the backup service account used to run DATASTOR tasks. Adjust settings as desired and note the user account specified must be a local administrator of the server and have the user right assignment 'logon as a batch job' which is normally the case when creating a backup service account.
Click Finish.
With the radio buttons now active, choose between Save to a folder location and Save to a cloud account if you have purchased cloud storage through DATASTOR. In this example, we have selected Save to a folder location, then clicked the ... button to the right to open the Browse For Folder window and select a folder.
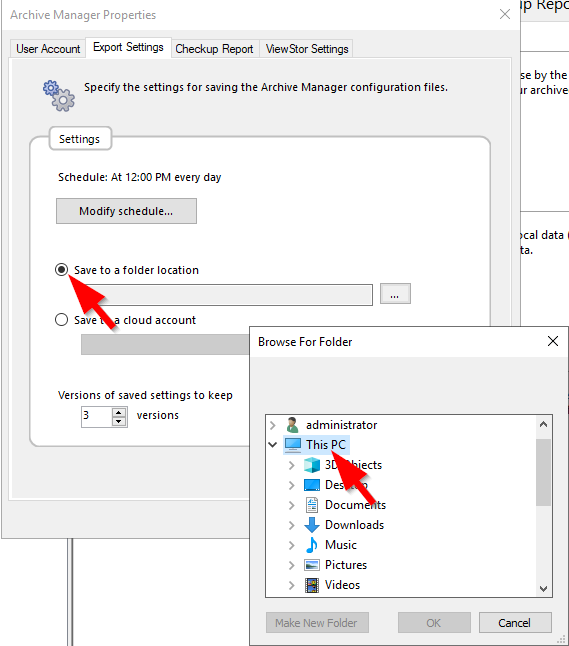
Note: if you wish to save the export.zip file to a mapped drive, it will be listed under This PC. You must have mapped the drive prior to opening Browse For Folder and you must have mapped the drive with elevated permissions for it to appear here since the software runs with elevated permissions.
Choose a folder path. If desired, click the Make New Folder button after navigating to the desired parent directory and name it as desired.
Modify the number of export files to keep. This number specifies the number of most recent export files to keep in the folder location specified above. Older export files are removed automatically.
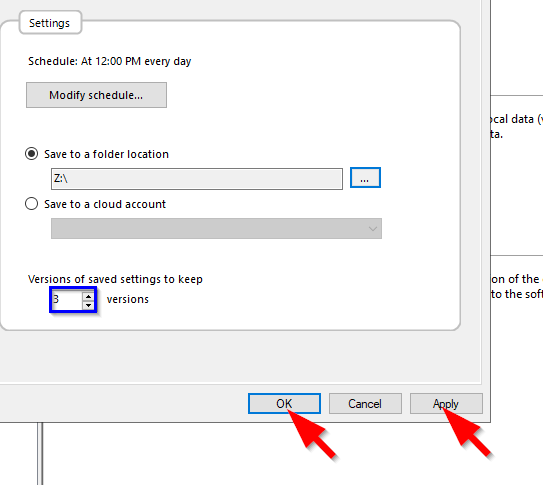
Click Apply and OK.
We recommend keeping a recent export.zip file saved to a location other than the local server in case the server drive is lost.