For network devices serving an SMB / CIFS share on your network, the shared files can be protected with a local protection plan created on the server hosting the software.
The plan scans the shared files, copies the new or changed files to the server for deduplication, and writes the deduplicated data to the store.
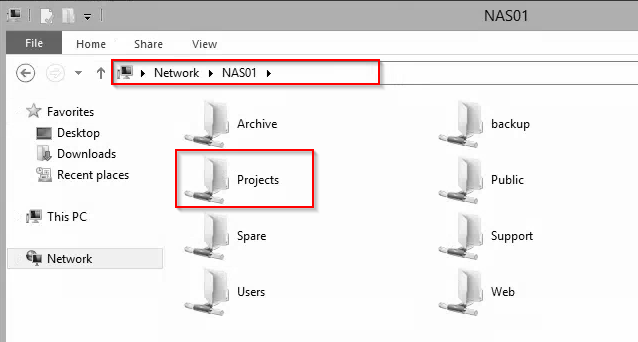
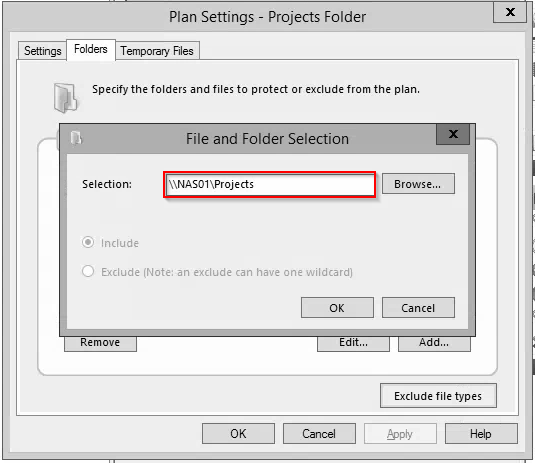
You will need to enter the UNC path to the shared folder in the plan's folder selections. A UNC path to a share is in the format \\[NAS Name]\[Share Name], e.g. \\NAS01\Projects. You may be able to determine the proper UNC path using the Network folder in File Explorer to find the device on the network and browse its shares.
If the device hosting the network share is running a Windows operating system, our best practice would be to add the system to the Remote Computers > All Computers folder and create a protection plan for it there instead. This provides a volume snapshot for a consistent view of the volume and open file support.
Create a local Files and Folders type plan
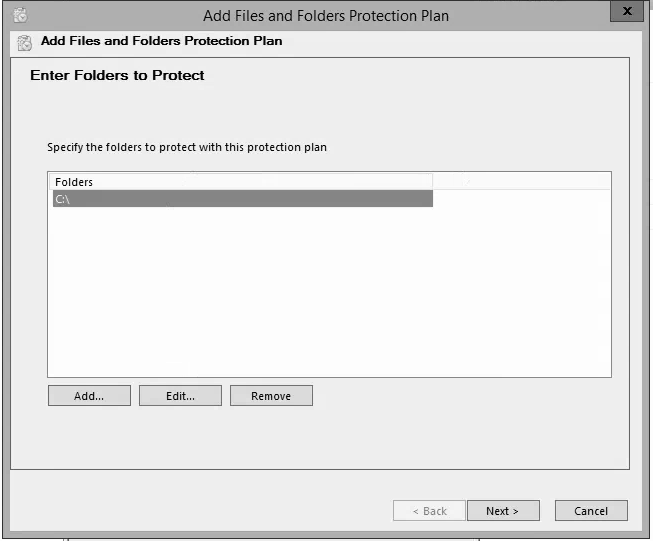
To create a local protection plan, in the left pane of Archive Manager, click the Local Plans folder. Then, in the right pane, click 'Create Protection Plan' and click on 'Files and Folders'. When you reach the screen to select folders for backup, click the Add... button and just enter C:\ for now. Click Next.
Complete the add plan wizard.
To enter the UNC path, highlight the plan in the center pane, then select 'Plan Settings...' in the right pane. On the folders tab of the plan settings, highlight the C: drive and click the Edit... button.
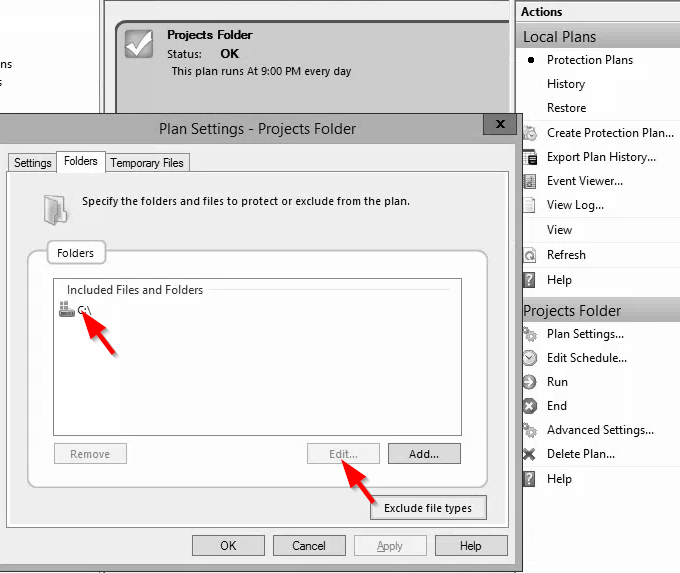
Remove the C:\ entry from the Selection: field and enter the UNC path to the share. Then, click OK.
Note: To register the path correctly, it is important to add an entry first and then edit the existing entry with the Edit... button. If you need to add additional UNC paths, click the Add... button and enter the C:\ selection and click OK. Then, highlight it, click the Edit... button, take out the C:\ selection and enter the UNC path and click OK.
Configure share permissions in a domain environment
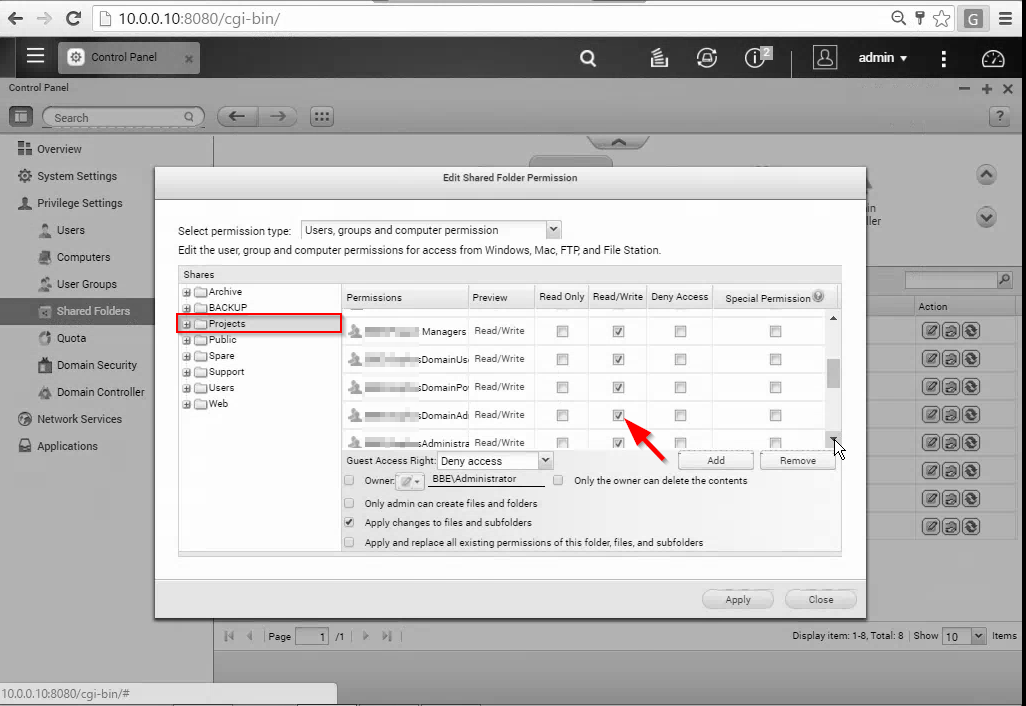
The NAS may have integration with Windows Active Directory security accounts. In which case, you may schedule the plan to run with a domain account that has been granted both read and write access to the NAS share as well as having local administrator membership on the server hosting the software. If you have configured a DATASTOR domain account to run DATASTOR tasks configure the NAS share to grant this account read/write access to the share. See our kb on configuring a service account to run DATASTOR tasks.
The NAS may have a web interface you can log into to integrate with your domain.
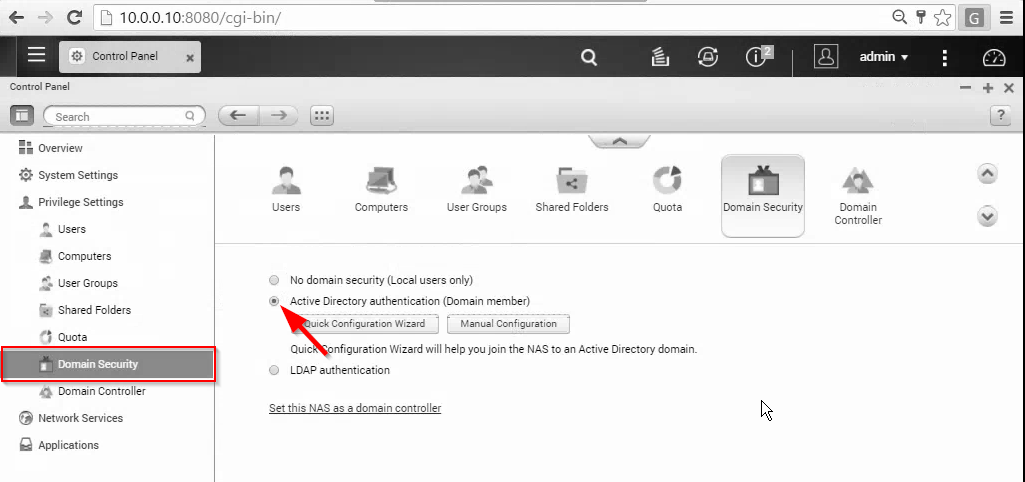
Use the web interface to adjust share permissions, if needed.
Configure share permissions in a standalone environment
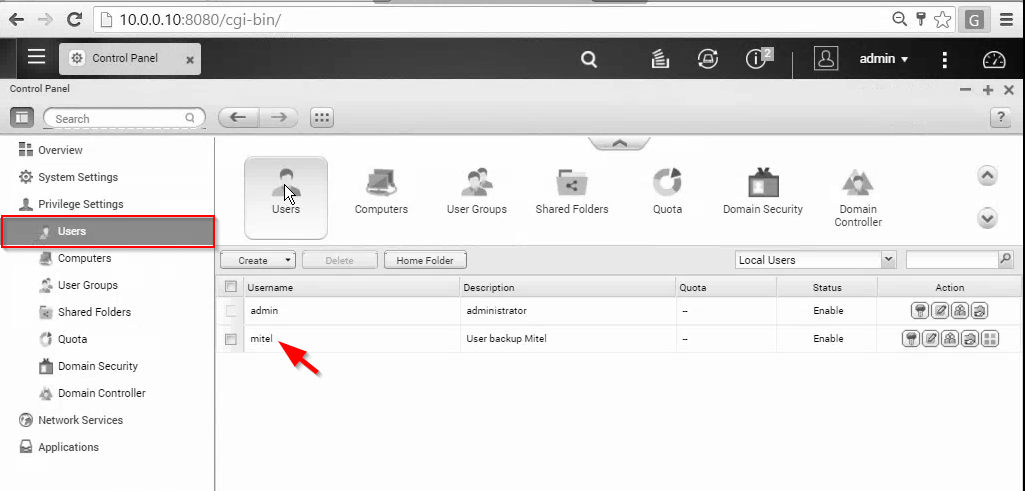
If the NAS is not integrated with Active Directory permissions, you must create a local user account in the NAS web interface with the same username and password that you will use to schedule the plan to run.
Create the NAS user account and grant the user account read / write access to the share.
Next, create a Windows account on the system hosting the software with matching username and password, and make it a member of both the local administrators group and backup operators group. You may use Computer Management to create the account or Active Directory Users and Computers when the software is installed on a domain controller.


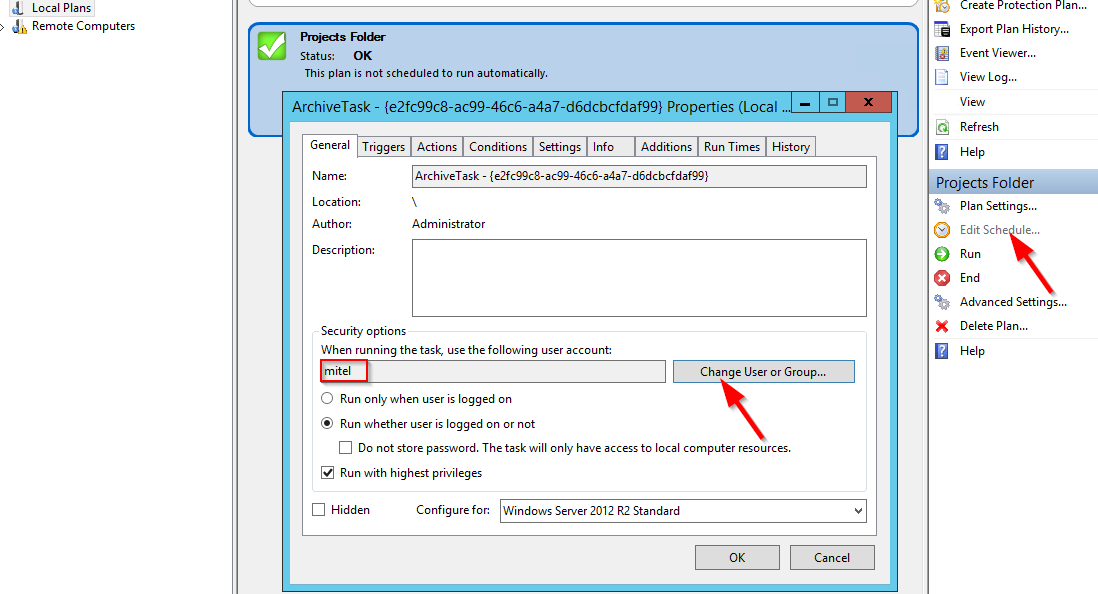
Finally, in Archive Manager, highlight the plan in the center pane, then select 'Edit schedule' from the right pane. On the General tab, Click the button Change User or Group... and set the task to run using the new account. Click OK to save the change.